| IMPORTANT: Since the first publication of the Mutant Monitoring System we have made a number of updates to the concepts and code presented in the blog series. You can find the latest version now in ScyllaDB University. Click here to be directed to the new version. |
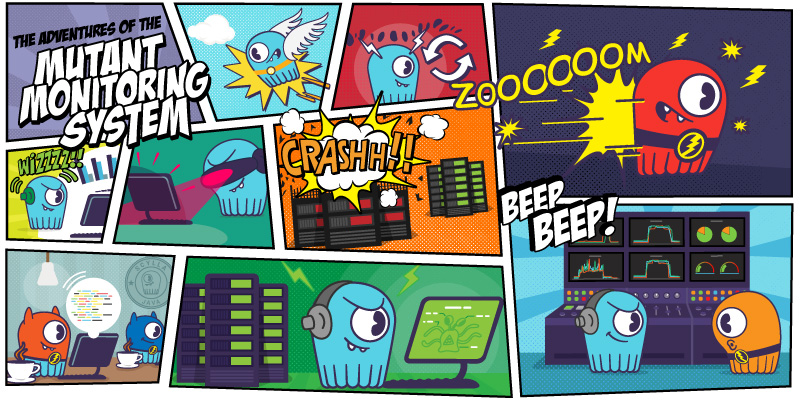
At ScyllaDB, we created our Mutant Monitoring System blog series as a fun and informative way to teach users the ropes. As a quick recap of the backstory, mutants have emerged from the shadows and are now wreaking havoc on the earth. Increased levels of malicious mutant behavior pose a threat to national security and the general public. To better protect the citizens and understand more about the mutants, the Government enacted the Mutant Registration Act. As required by the act, each mutant must wear a small device that reports on his/her actions every second. The overall mission is to help the Government keep the Mutants under control by building a Mutant Monitoring System (MMS).
The Mutant Monitoring series has been a great tool used to train new and experienced ScyllaDB users on key concepts such as setup, failover, compactions, multi-datacenters, and integrations with third-party applications. The series is also good for developers to learn how to use ScyllaDB in their applications in various programming languages.
In this post, I will go over each day of our training series and explain what you can get out of it.
Day 1: Setting up ScyllaDB. On the first day, we explored the backstory of Division 3 and decided that ScyllaDB is the best choice for the database backend. Using Docker, we set up a ScyllaDB cluster and created the initial mutant catalog keyspace and table. After the tables were made, we added a few mutants to the catalog that serve as our main mutant characters for the entire series.
Day 2: Building the Tracking System. For day two, we picked up where we left off and built the tracking system which is a time-series collection of mutant data such as timestamp, location, and attributes based on their abilities. We also discussed the schema design in depth and went over the compaction strategy and clustering key and how to insert data and run queries.
Day 3: Analyzing Data. With the tracking system setup, we were now able to begin analyzing the data in day 3 and did this using Presto in Docker. Presto is a distributed SQL query engine for Big Data technologies like ScyllaDB. With it, we showed how to run complex queries such as full-text search, comparing values, and querying data.
Day 4: Node Failure Scenarios. At Division 3, our mutant data-centers were experiencing more and more cyber attacks by evil mutants and sometimes we experienced downtime and cannot track our IoT sensors. By day 4, we realized that we needed to prepare for disaster scenarios so that we know for sure that we can survive an attack. In this exercise, we went through a node failure scenario, consistency levels, and how to add a node and repair the ScyllaDB cluster.
Day 5: Visualizing Data with Apache Zeppelin. On day 5, we learned how to use Apache Zeppelin to visualize data from the Mutant Monitoring System. Apache Zeppelin is a Java Web-based solution that allows users to interact with a variety of data sources like MySQL, Spark, Hadoop, and ScyllaDB. Once in Zeppelin, you can run CQL queries and view the output in a table format with the ability to save the results. Also, the query can be visualized in an array of different graphs.
Day 6 and 7: Multi-datacenter ScyllaDB Deployment. Division 3 decided that they must prepare for disaster readiness by expanding the ScyllaDB cluster across geographic regions in a multi-datacenter configuration. On day 6, we will set up a new ScyllaDB cluster in another datacenter and learned how to convert our existing keyspaces to be stored in both datacenters and went over site failure scenarios. On day 7, we expanded this topic and went over consistency levels for multi-datacenter ScyllaDB deployments.
Day 8: ScyllaDB Monitoring. For day 8, we explained how to set up the ScyllaDB Monitoring Stack which runs in Docker and consists of Prometheus and Grafana containers. We chose to run the monitoring stack so we can examine important ScyllaDB specific details such as performance, latency, node availability, and more from the cluster.
Day 9: Connecting to ScyllaDB with Node.js. Division 3 wanted to teach their development team how to create applications that can interact with the ScyllaDB Cluster so they can build the next-generation tools for the Mutant Monitoring System. On day 9, we explored how to connect to a ScyllaDB cluster using Node.js with the Cassandra driver and also went over the available Cassandra API’s for other programming languages.
Day 10: Backup and Restore. On day 10 we were told that Division 3 implemented a new policy for ScyllaDB Administrators to learn how to backup and restore the mutant data in the cluster. Throughout the lesson, we explained how to simulate data loss and how to backup and restore data from ScyllaDB.
Days 11 and 12: Using the Cassandra Java Driver. Division 3 decided that we must use more applications to connect to the mutant catalog and decided to hire Java developers to create powerful applications that can monitor the mutants. On day 11 and 12, we will explore how to connect to a ScyllaDB cluster using the Cassandra driver for Java using basic query statements and then explained how to modify a Java program to use prepared statements
Day 13: Materialized Views. The Mutant Monitoring System had been receiving a lot of data and Division 3 wanted to find better ways to sort and store data so it can be quickly analyzed with applications. Luckily, having found an exciting feature in ScyllaDB called Materialized Views, they provided us with directives to learn how to use it to help our application developers prevent further acts of terror. On day 13, we explained what Materialized Views are and how to use it with the Mutant Monitoring System.
Day 14: Using Apache Spark with ScyllaDB. On day 14, Division 3 wanted to dive back into data analytics to learn how to prevent the attacks. For this training, we went over how to use Apache Spark, Hive, and Superset to analyze and visualize the data from the Mutant Monitoring system.
Day 15: Storing Binary Blobs in ScyllaDB. Day 15 concluded our final Java programming series by explaining how to store binary files in ScyllaDB. With this ability, we were able to learn how to store images of the mutants in the catalog keyspace using the blob table type. With the images stored, Division 3 was able to see what the mutant looks like whenever they want.
Day 16: The Mutant Monitoring Web Console. Day 16 is the final post in the series for now and we explained how to create a Mutant Monitoring Web Console in Node.js. The web console has a central interface that displays photos of the mutants and their basic information, as well as tracking information such as heat, telepathy, speed, and current location.
We hope that the Mutant Monitoring System has been educational for ScyllaDB users. Throughout this series, we discussed a variety of topics ranging from running and configuring ScyllaDB, recovering from disasters, expanding across multiple datacenters, using ScyllaDB with different programming languages, and how to integrate ScyllaDB with third-party applications like Spark and Presto. This series is done for now but we hope that the practical knowledge it provides will live on for some time.
Next Steps
- ScyllaDB Summit 2018 is around the corner. Register now!
- Learn more about ScyllaDB from our product page.
- See what our users are saying about ScyllaDB.
- Download ScyllaDB. Check out our download page to run ScyllaDB on AWS, install it locally in a Virtual Machine, or run it in Docker.